5 Ways to Easily Record Screen with Audio in Windows
Screen recording is a great way to capture and share what's on your screen, whether for teaching, creating content, or troubleshooting. This article will walk you through different ways to record your screen on Windows with audio. If you want to show something on your computer and need a still image, Windows screenshots work fine. But if you're explaining steps and want to show the action, choose screen recording. Let's take a look at all the methods.
5 Ways to Easily Record Screen with Audio in Windows
Recording using Snipping Tool:
Snipping Tool is a native Windows 11 system tool that lets you take screenshots and record video Screen Recording, and the latest updates also allow you to record audio while recording the screen on your computer if it is running Windows 11, follow the following steps to record audio while recording using this tool.
- In the taskbar, click the Start icon, then search for Snipping Tool and choose Open.
- Click on the video recording icon and press the New button.
- Using your mouse, select the area you want to record, then click the microphone icon in the tool to enable it, then press Start to start recording.
- Note: If you are using an external microphone, you can use it to record audio by selecting it from the drop-down menu, and if the microphone icon is inactive, enable the microphone from Settings by going to Privacy & security.
- A 3-second countdown will appear, and the screen recording will start.
- Once the recording is complete, click on the stop icon and you will see the video after that and you can check it and save it to the location you want.


Recording with Xbox Game Bar:
It is another built-in screen recorder in Windows that can record your screen and system audio. To record your screen with audio using Xbox Game Bar, follow these steps. Note that you cannot record the desktop or File Explorer using this method.
- Launch the app you want to screen record and open the Xbox Game Bar by pressing Windows + G keys on your keyboard.
- Click on the Capture button and press the Start Recording button (white circle icon), make sure the microphone icon is enabled to record screen with audio and you can start recording your screen directly by pressing Windows + Alt + R.
- Record your screen, and when you're done, click the Stop Recording button (square icon) to end the recording.

Use screen recording software like OBS Studio:
Using screen recording software can be a huge benefit to your experience, as it provides you with the flexibility and quality you need while recording on Windows, and while there are many tools, we'll be using OBS Studios to explain in the following steps.
- Download and install OBS Studio.
- Press Windows + S to open the Start menu, type OBS Studio, and launch it.
- If you are installing OBS Studio for the first time, follow the steps in front of you. If you have installed it before, skip this step.
- Under Usage information, select Optimize just for recording, I will not be streaming and click Next.
- For video settings, adjust the Base (Canvas) Resolution and FPS settings and then click Next.
- Click the + icon and choose Display Capture.
- Change the recording name and press OK.
- Adjust the settings listed in front of you and press OK:
Capture Method: Choose how OBS will record your screen content.
Display: If you are working with multiple displays, choose which display you want to record the screen from.
Capture Cursor: Enabling this ensures that cursor movements are captured in the screen recording.
Force SDR: Enabling this feature ensures that OBS Studio forcefully converts all video sources to SDR regardless of their native color space, which is useful when streaming to platforms that do not support HDR streaming. - In the Audio Mixer, adjust the volume sliders for Desktop Audio and Mic/AUX, then click Start Recording and minimize the OBS Studio window.
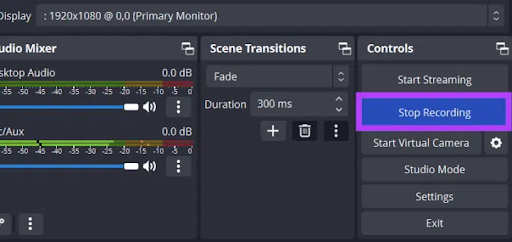
Tip: If you're recording screen with Desktop Audio, mute Mic/AUX to ensure clear audio, and vice versa if you want your voice to be the guide in the video. - Once you're done recording, maximize OBS Studio and click Stop Recording.


Registration using websites:
If you are running low on space on your Windows system or don't want to install an additional application on your device, you can easily do Screen Recording on your Windows system with audio using web tools and you can follow these steps to learn how to do it using Screen Capture website.
- Launch your web browser and go to the Screen Capture website .
- Check the boxes next to Microphone, Audio, Webcam, and Watermark to enable them and once done, hit the Start Recording button.
- Select the screen you want to record (a Chrome tab, window, or the entire screen) and click Share and enable the button at the bottom of the notification to share the audio in the recording.
- Give the device permission to use the microphone in notification by selecting Allow and then the screen recording will start.
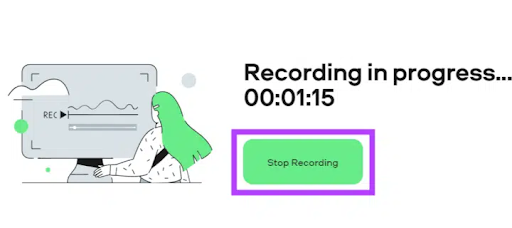
- Once done, go to the Screen Capture tab and click on Stop Recording and click on the download button next to the video to save it.


Screen recording with Google Chrome extensions:
Google Chrome extensions may be your best option if none of the above methods work for you. Extensions are like helpers that add extra features to your browser, making your overall experience easier and in this case, screen recording on Windows.
Since extensions often have simple interfaces and basic capabilities, they are ideal for people who don't want to put in a lot of effort while capturing video on their Windows PC or laptop. Although there are many extensions available, we will use Vidyard for the explanation, knowing that the extension is not allowed to record some tabs and websites.
- Open your browser and search for Vidyard.
- Click the Add to Chrome button.
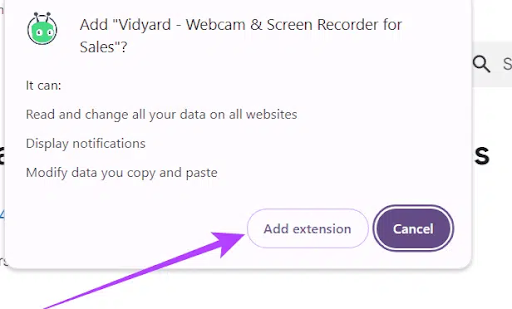
- In the pop-up window, select Add extension.
- Create a free Vidyard account .
- Go to the status bar, click on the extension icon, and select Vidyard.
- Allow the extension to use your device's camera and microphone and click Start recording.
- Select the screen you want to record (a Chrome tab, window, or the entire screen) and click Share.
- Wait for 3 seconds before starting recording.
- When you are done recording, click the stop icon in the interface at the bottom right corner of the screen and you can also press Ctrl + Shift + 2 to end recording.
- From the message in the upper right corner of the screen, rename the recorded video, restart recording, or copy the video link. You can also go to the page to edit the video in more detail.